MEET CINDY HICKS

Cindy is a friend and coworker of mine. She is incredibly organized and on top of things at work, which makes her easy to go to when a work situation needs tending to. One day we were in a full-staff meeting and I looked over at her when she was writing in her planner. Things were color coded and neatly written in. What caught my eye were little tags, or mini post-its at the bottom of each day, that had the name of a meal on them.
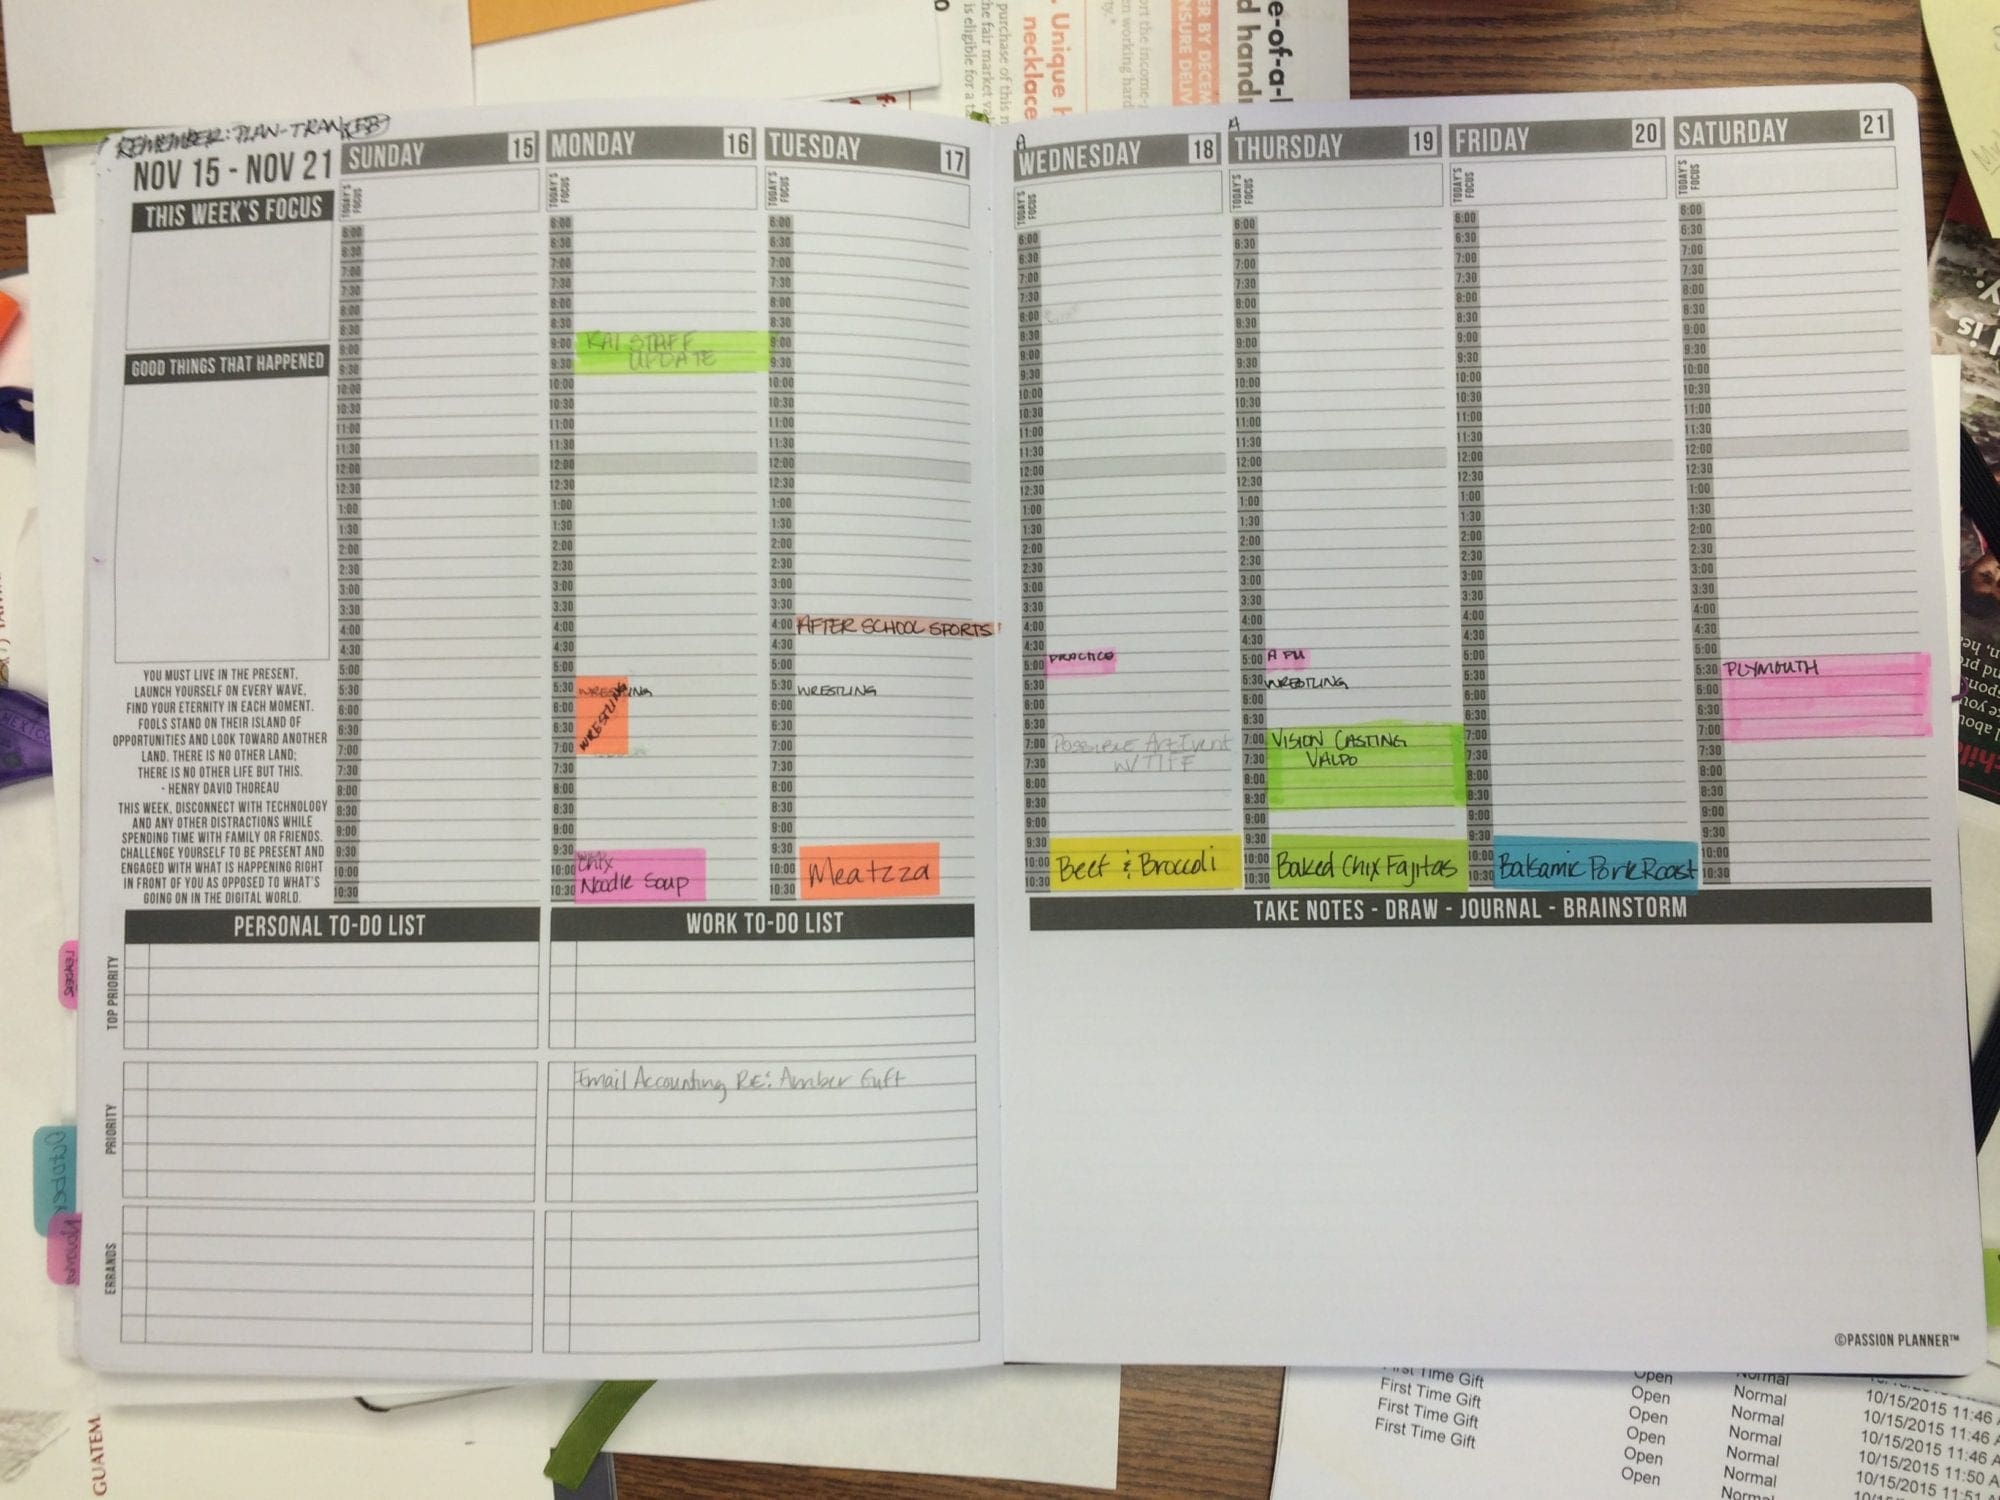
I was intrigued. Sarah and I have been looking for ways to make meal planning easier for our readers so my antennae for new ideas was already up. I decided to inquire about it. “Cindy, you are so organized. Is that how you meal plan?”
And that question opened up a new learning opportunity for me that I want to share with you. I will walk you through Cindy’s organizational system of meal planning and give her little tips along the way. Are you wishing you could find a system that will be cost effective and efficient this new year? Give this system a try.
The big idea.
The big idea behind this system is that you plan several weeks of meal plans/grocery lists and then put those weekly meal plans into a rotation. Here are the nuts and bolts of this system broken down into 6 steps…
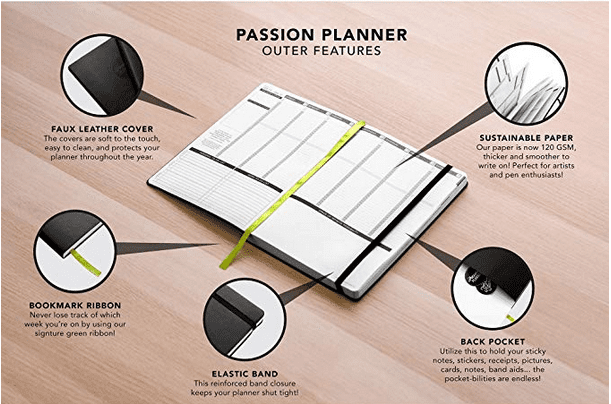
STEP ONE: Buy a planner that you love.
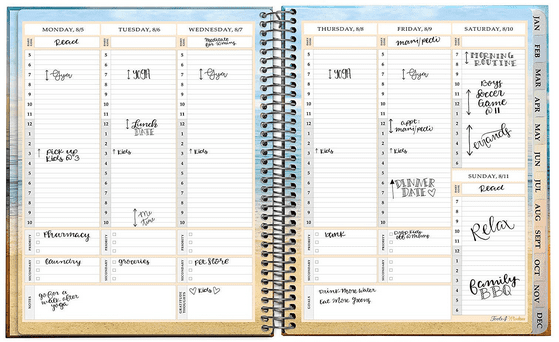
Spend a few dollars on a planner you love, one that you will be happy to open each day. Cindy uses the Passion Planner. She says it is the best planner that she has ever had and highly recommends it for moms who want to make goals, be inspired, and get organized. Click here, or on the pics below to learn more about the Passion Planner. At the bottom of this post we have also linked up to some other great planners that you can find on Amazon!

STEP TWO: Compile all of the family favorite recipes.
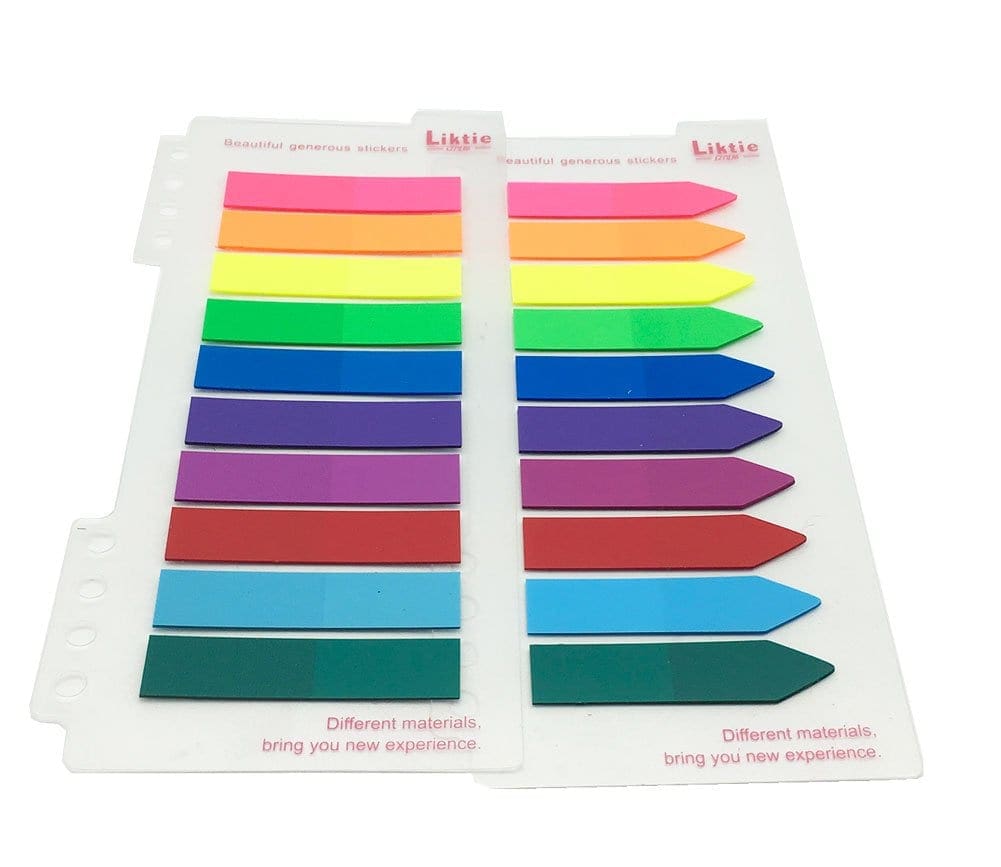
What recipes does your family love? What ones do you make because they are healthy and filling that you want your family to learn to love? You have probably already tried several recipes that you know are a win in your home. Cindy realized that she could come up with about 35 recipes that would work for her family once she started to really dig through her stash of recipes! If you need help enlarging your recipe stash you might want consider reading our other post called Finding Recipe Inspiration. Now take a couple of minutes to write the name of each meal onto a mini post-it flag. (links to the post-it flags at the bottom of this post) You might want to color code these recipes, but you don’t have to. Maybe chicken recipes will be orange and vegetarian meals will be green, etc.
STEP THREE: Consider the types of recipes you have
and spread them out.
Think in terms of the number of weeks you are wanting to plan out. For instance, do you have enough recipes to do four weeks, five, six, or maybe even seven. Consider what recipes can go together to make a great week.
Maybe you need at least one quick and easy recipe each week for the day when you know you have just a half hour to get dinner on the table. Maybe you want one chicken recipe each week, one red meat recipe, and one crock pot recipe. Put your cute little post-its in groups by week. If you are doing Weight Watchers consider mixing lower point meals with higher point ones so you don’t have a really low (in points) week followed by a high (in points) week.
Once you have grouped your recipes into weeks you can plug them into your planner, putting one recipe on each day for as long as you have recipes to fill. Cindy keeps two days open (usually on the weekend) because she says sometimes they eat out and they have a leftover day so she doesn’t usually need seven dinners planned in one week. Five days/week of dinners planned works for her. In our family we always make Friday night family night and we always eat out on family night, so I just plan for 6 dinners in a week. Do what works for you!
STEP FOUR: Make your grocery lists.
Create meal plan spreadsheets if it helps you. Bunch one week’s worth of recipes together. From there you can make your grocery list for that particular week. If you are doing five weeks of meals you should have five grocery lists… one for each week.
Eventually you can combine weeks and get two week’s of grocery shopping done at one time, like Cindy does, but for now just try doing one week at a time. This grocery list will be used over and over again so make it easy to use and easy to reproduce. You should be able to copy, or print off, your grocery list easily. Perhaps consider using our fill-in-the blanks grocery list template and saving it.
Cindy uses an app so she doesn’t even have to remember to print off the grocery list. If she is at a store and realizes it is a good time to get some groceries she can just pull up the app from her phone and access her list. We, at Meal Planning Mommies, love Plan to Eat, but Cindy tells us that she uses the free Evernote app and it works great for her.
STEP FIVE: Put your meal plan to work.
You have grouped you recipes into weeks, you have plugged those recipes in on you calendar, you have created a grocery list for each week. Now it’s time to go get your groceries for you first week and use them for your meals that first week. Be sure to add snack foods, breakfast foods, lunch options, desserts, etc. in your grocery list.
STEP SIX: Transfer week one to the next available week.
This last step is what keeps this whole things moving efficiently and effectively. When one week is over it becomes the meal plan for the next available week. The idea behind using the post-it flags is that they can be peeled off easily and can be used over and over again.
If you were able to fill up seven weeks worth of groceries using your recipes then week one becomes week eight when you are done with week one. Pick up each post-it from week one, flip to you next available week and place the post-its on that week. Be sure to keep your grocery list from week one handy so that when you get to week eight you already have it ready to go.
Plan, Eat, and repeat.
RESOURCES TO HELP MAKE THIS SYSTEM WORK FOR YOU!
Here are a few highly recommended tools that will help with this no fail meal plan system!
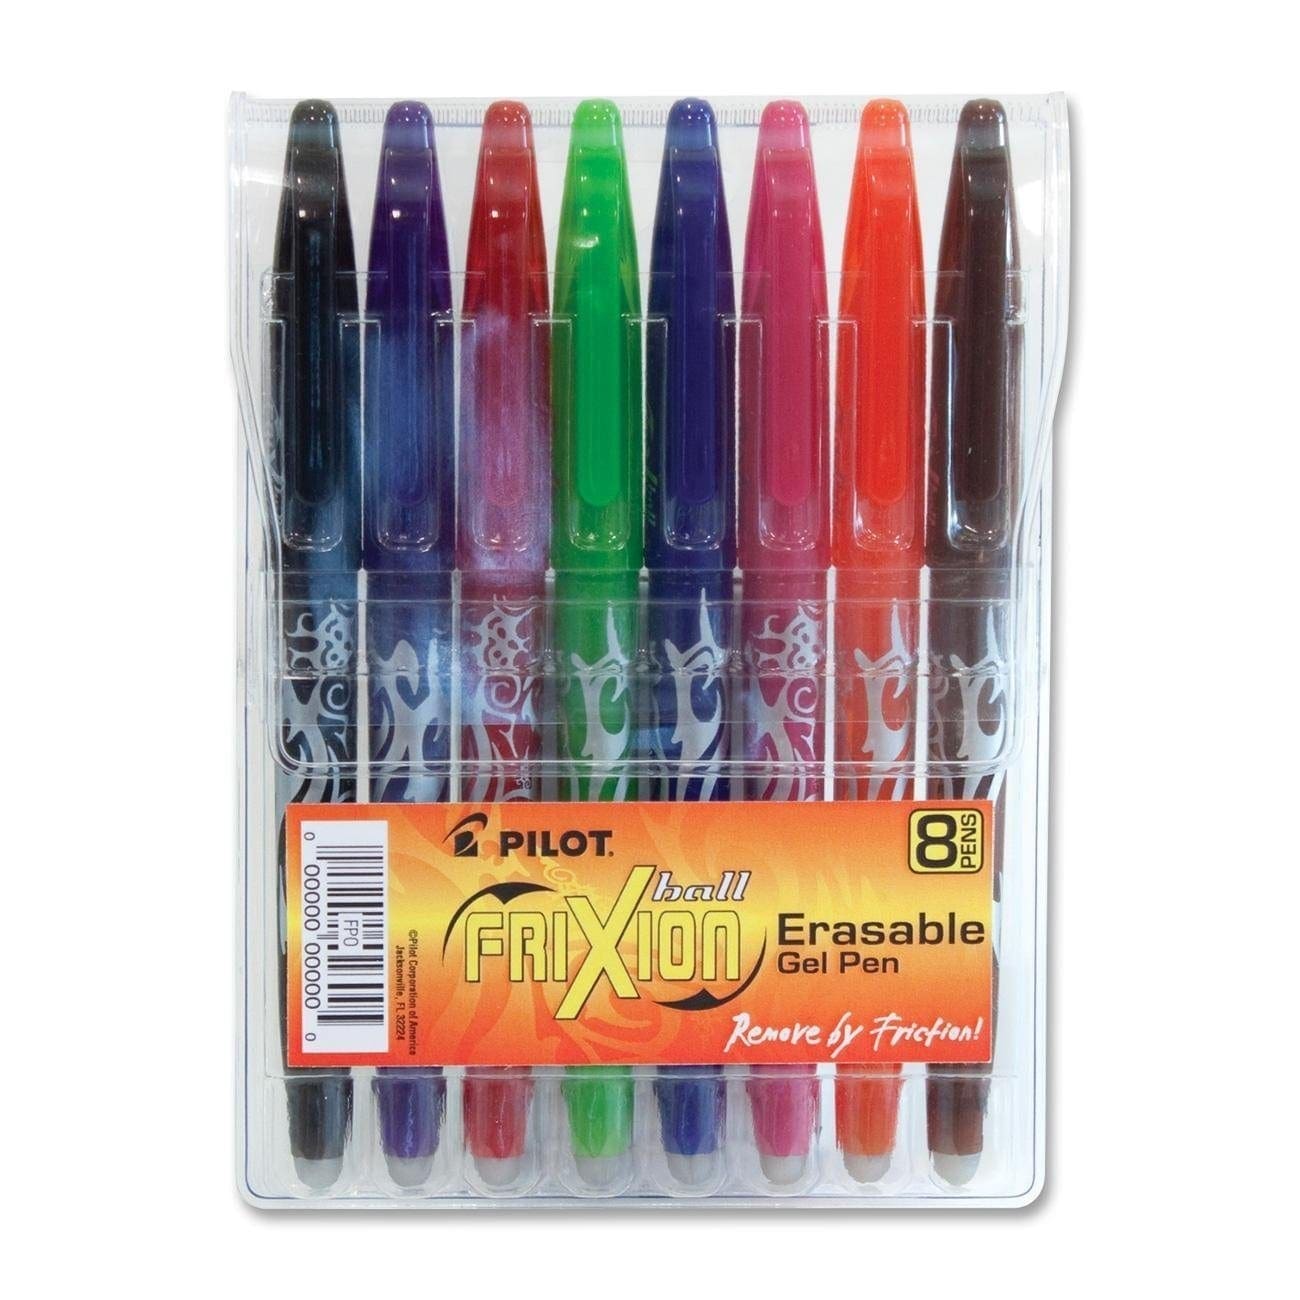
Frixion ERASABLE pens!
These have come highly recommended by several people who are really big into using their planners on a daily basis. I haven’t tried them yet, but hope to soon!
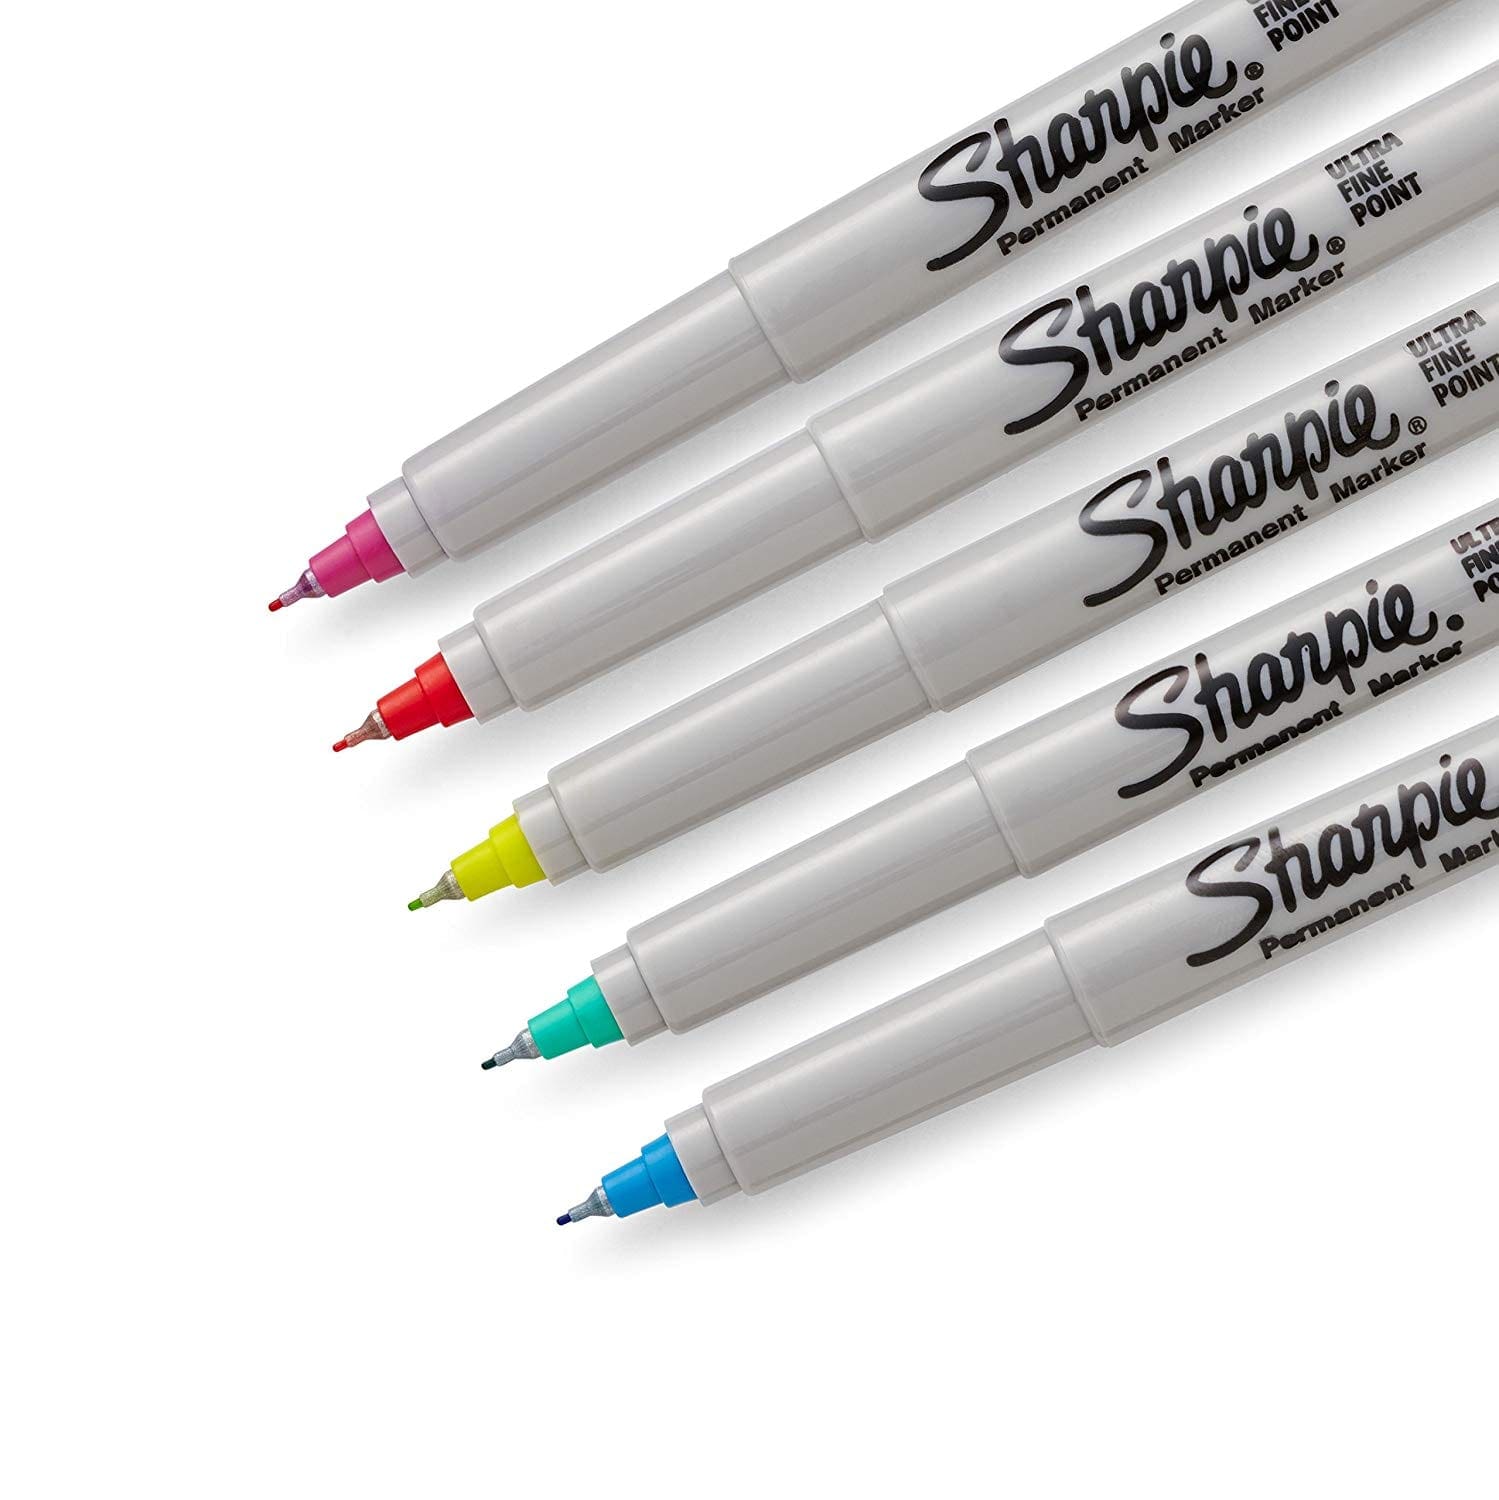
Sharpie extra fine point markers!
If you are using the post-it re-positional flags, you will want to buy these sharpie extra fine point markers. I tried other pens and markers but they all smudged! These were a life saver!
Rr-Positional Post-It Flags!
Also here are some re-positional post-it flags that you will see in our next post that work well with this type of meal planning!

These Yowanted sets would work as well!
A MEAL PLANNER!
Are you still in need of a planner for 2016? I searched Amazon and found some super unique and fun planners that would work well with this type of meal planning!
8.5 x 11 inch Large Planner!
This one has the days divided similarly to Cindy’s planner. It is an 8.5×11.5 inch planner and Coloring Book! If you are one of those people who doodles while you are on the phone, how much fun would it be to use this planner and some colored pens! I need this!

5 x 8 inch Small Planner!
Want a smaller planner that you can carry in your purse? Here is a really cute 5×8 planner. You would have to cut the post-it flags a little to get them to fit in the squares, but it does work! On a post coming soon you will see this exact planner being used with this meal planning system.

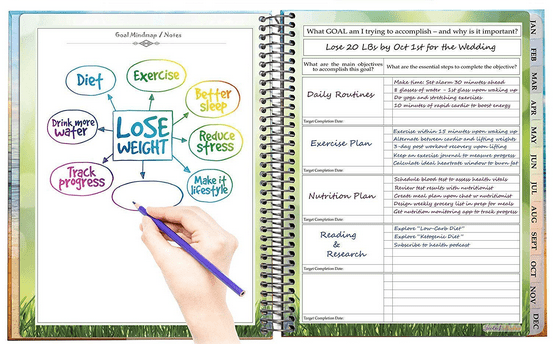
Tools4Wisdom Planner!
One more planner, which I think is my favorite! It offers the same set-up as Cindy’s planner plus it helps you goal set for the year. Love it!
Read this next post to see this no fail meal plan system being used by one of our very own readers!
Leave a Reply